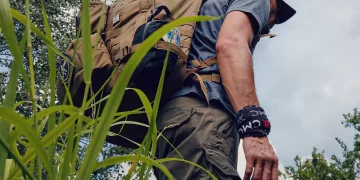


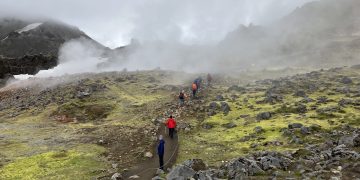
Hiking in the wilderness is often described as freedom—a chance to reconnect with nature, stretch your legs, and clear your mind. But nature, as breathtaking as it is, has a wild side. Trails can be unpredictable, weather can shift suddenly, and accidents happen faster than you think. A twisted ankle, a laceration from jagged rocks, or even a sudden fall can turn a peaceful hike into a survival scenario. So, the question arises: Can you survive a trail injury with just what’s in your pack? The short answer is yes—but only if your pack is stocked wisely and you know how to use every item. Let’s dive deep into the anatomy of survival, tackling injuries, and making the most of what you carry.
Understanding Trail Injuries
Before discussing supplies, it’s important to know what you might face on the trail. Common injuries include:
- Sprains and Strains: Twisted ankles are the most notorious hiking injury. Often caused by uneven terrain or loose rocks, sprains can range from mild discomfort to severe ligament damage.
- Cuts and Abrasions: Jagged rocks, thorny bushes, and even branches can cause lacerations. While minor cuts are manageable, deep ones require careful attention.
- Fractures: Falling or slipping can lead to broken bones. Depending on the location and severity, this can immobilize a hiker completely.
- Burns and Blisters: Hot cooking equipment, sun exposure, and poorly fitting shoes are frequent culprits.
- Hypothermia or Heat Stroke: Weather is an equal-opportunity threat. Even in mild conditions, wind, rain, or intense sun can turn dangerous quickly.
Knowing these injuries allows you to prepare your pack efficiently and think ahead about improvisation.
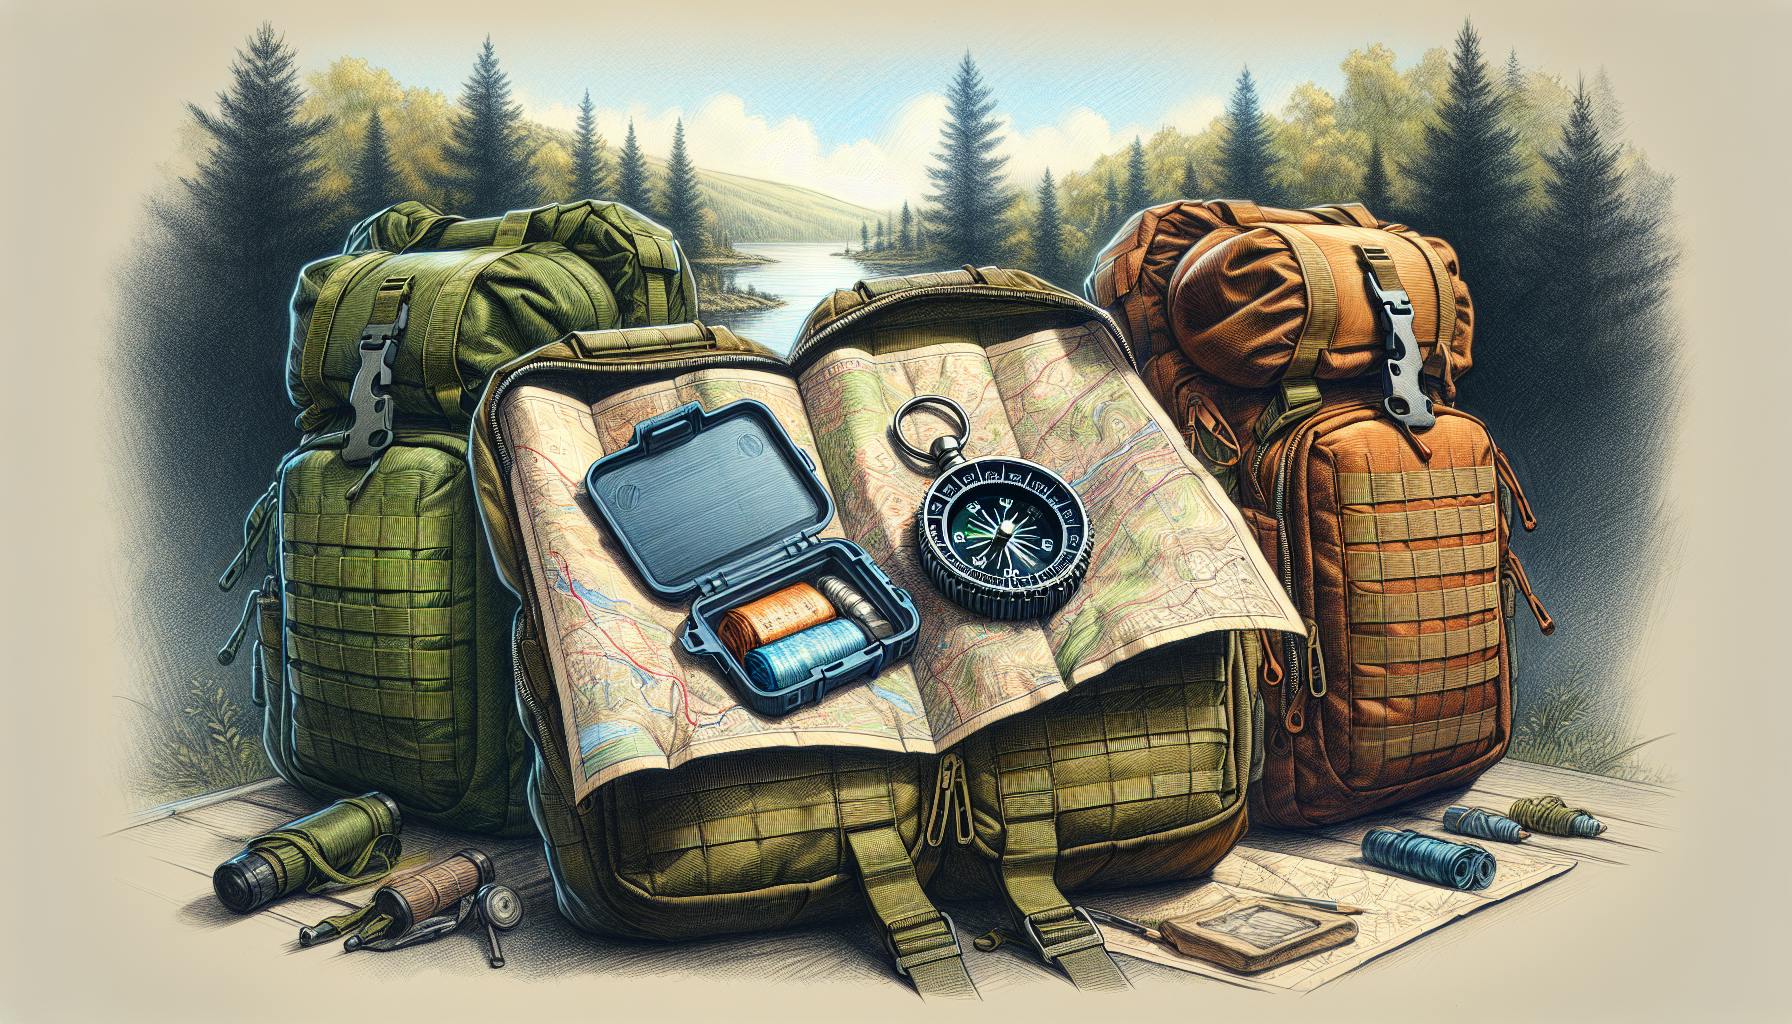
The Pack Essentials for Survival
Your backpack is more than a storage unit; it’s your survival toolkit. A well-packed bag can make the difference between a manageable injury and a life-threatening situation. Let’s break down the essentials:
1. First Aid Kit
A first aid kit is the crown jewel of survival. A professional-grade kit should include:
- Adhesive bandages of various sizes
- Sterile gauze pads and tape
- Antiseptic wipes and ointment
- Tweezers and small scissors
- Pain relief medication
- Elastic bandages for sprains
- Splint materials (or items that can improvise as splints)
Pro Tip: Even a basic kit can be expanded on the trail. For example, duct tape can double as a splint wrap, blister cover, or even a temporary strap.
2. Shelter and Insulation
If your injury leaves you immobilized, exposure becomes a bigger threat than the injury itself. Pack items that protect against elements:
- Emergency thermal blanket or bivy sack
- Lightweight tarp or poncho
- Extra clothing layers
- Hat and gloves (even in warm weather)

Why it matters: A sprained ankle might keep you in one spot for hours. Staying warm and dry prevents hypothermia, a silent killer.
3. Navigation Tools
You may be disoriented after an injury. While your phone might seem enough, it’s unreliable in remote areas.
- Map and compass
- GPS device (with extra batteries or power bank)
- Trail markers (for creating visual signals)
Pro Tip: Mark your location if you stay put. This increases the chance of being found by rescuers.
4. Food and Hydration
Energy and hydration are crucial for recovery. Even minor injuries can lead to rapid fatigue.
- Water bottles or hydration bladder
- Water purification method (tablets, filter, or iodine drops)
- High-energy snacks (nuts, energy bars, dried fruits)
Extra Tip: If you’re immobilized, ration your water and food smartly. A sprained ankle may turn a 4-hour hike into an overnight ordeal.
5. Tools and Multi-purpose Items
Items with multiple functions are lifesavers:
- Knife or multi-tool: For cutting bandages, splints, or preparing food
- Duct tape: For splints, bandages, and even shoe repairs
- Paracord: Can stabilize injuries, create shelters, or hang food
- Fire starter: Beyond warmth, fire signals for help
Step-by-Step Guide to Surviving Common Injuries
Having a stocked pack is only half the battle. Knowing how to use it under pressure is crucial. Here’s how to handle the most common trail injuries:
Sprained or Broken Ankle
Symptoms: Immediate pain, swelling, difficulty walking.
Steps:
- Stop movement: Sit or lie down. Avoid putting weight on the injured foot.
- Immobilize: Use a splint from your pack or improvise with sticks, trekking poles, or even a sturdy backpack frame. Wrap firmly but not so tight that circulation is cut off.
- Reduce swelling: Elevate the foot above heart level if possible. Apply cold compress from snow, water, or improvised methods.
- Pain management: Take over-the-counter pain relievers if available.
- Signal for help: Use a whistle, mirror, or bright clothing to attract attention.
Survival Tip: If alone, never attempt to walk long distances on a broken ankle. Wait for assistance while keeping warm and hydrated.
Cuts and Lacerations
Symptoms: Bleeding, exposed tissue, risk of infection.
Steps:
- Stop the bleeding: Apply firm pressure with gauze or cloth.
- Clean the wound: Use purified water or antiseptic wipes to remove dirt.
- Cover it: Sterile gauze or adhesive bandages keep the wound clean.
- Immobilize if necessary: Large cuts near joints may benefit from gentle wrapping to avoid reopening.
- Monitor for infection: Redness, swelling, pus, or fever are warning signs.
Pro Tip: Duct tape can act as a waterproof bandage in emergencies. Layer gauze under it to protect the wound.
Fractures
Symptoms: Severe pain, deformity, inability to move limb.
Steps:
- Immobilize immediately: Use splints, sticks, or poles from your pack. Tie gently with bandages or cord.
- Stabilize and support: Keep the injured area elevated if possible.
- Prevent shock: Keep the hiker warm and calm.
- Seek rescue: Fractures often require professional care. Use GPS, whistle, or phone to alert rescuers.
Pro Tip: Even a simple cardboard or thick clothing can stabilize a fractured arm or leg if nothing else is available.
Blisters and Burns
Blisters:
- Clean the area with antiseptic.
- Protect with moleskin or gauze.
- Avoid popping large blisters unless absolutely necessary.
Burns:
- Cool the burn with water for at least 10 minutes.
- Cover with sterile dressing.
- Avoid creams unless medically safe for outdoor use.
Pro Tip: Foot blisters can end a hike fast. Prevent by taping hotspots before they flare up.
Hypothermia or Heat Stroke
Hypothermia (cold-related):
- Signs: Shivering, slurred speech, fatigue, confusion.
- Steps: Move to shelter, dry off wet clothes, layer warm clothing, use thermal blanket.
- Give warm liquids if conscious. Avoid alcohol or caffeine.
Heat Stroke (heat-related):
- Signs: High body temperature, confusion, nausea, rapid pulse.
- Steps: Move to shade, hydrate, loosen clothing, cool body with wet cloths.
- Monitor closely; this can escalate quickly.
Improvisation: When the Pack Runs Out
No pack is perfect. Knowing how to improvise dramatically increases survival odds:
- Splints from nature: Use straight sticks, branches, or even tightly rolled clothing.
- Bandages: Torn t-shirts, socks, or scarves can replace gauze.
- Fire for signaling and warmth: Smoke and light from controlled fire attract rescuers.
- Shelter: Natural features like caves, fallen trees, or dense bushes can supplement tarps.
- Water sourcing: Rain, streams, or dew can be filtered or boiled.
Pro Tip: Creativity matters as much as equipment. A resourceful hiker can transform ordinary items into lifesaving tools.
Psychological Survival: Staying Calm Matters
Physical preparedness is one thing, but mental endurance is just as vital. Panic, fear, or frustration can exacerbate injuries or delay rescue. Techniques to stay calm:
- Breathe deeply: Slow, controlled breaths reduce anxiety and prevent hyperventilation.
- Focus on priorities: Shelter, water, signaling, and first aid in that order.
- Keep a positive mantra: Even a simple “I can do this” boosts morale.
- Track time: Knowing how long you’ve been injured helps ration resources.
Preparing Your Pack Like a Pro
If surviving with just what’s in your pack is the goal, preparation is key:
- Invest in a compact first aid kit and learn how to use every item.
- Include multipurpose tools—one item should do many things.
- Pack extra layers even in warm weather. Conditions can change fast.
- Include signaling tools such as whistle, mirror, or even colored cloth.
- Practice packing light but smart: Weight matters if you’re limping.
Real-World Examples of Trail Survival
Hiking rescues and survival stories show what works:
- The Twist of Fate: A hiker with a sprained ankle used trekking poles as splints, signaled with a reflective blanket, and was rescued within hours.
- Lost and Alone: After cutting her hand badly, a solo hiker wrapped it with gauze and duct tape, stayed put in a sheltered spot, and survived until help arrived.
- Fractured Arm in the Rockies: Using a backpack frame and clothing as a splint, the injured hiker managed to stay mobile just enough to reach a ranger station.
Each story reinforces one lesson: your pack is your lifeline, but your knowledge is what saves you.
Conclusion: Can You Survive?
Yes. With the right items and knowledge, surviving a trail injury with just what’s in your pack is not only possible—it’s realistic. The key is preparation, improvisation, and mental fortitude. Your backpack isn’t just a bag; it’s a mobile survival kit. And the wilderness, while unpredictable, respects those who are ready, resourceful, and calm.
So before your next hike, think carefully about what goes in your pack, and imagine scenarios where you might need every item. That little extra effort could mean the difference between a minor inconvenience and a life-saving outcome.
Remember: nature is stunning, but respect the risks, and you’ll enjoy every trail with confidence.


